Kitchen Fix
Quick fixes to create a characterful kitchen
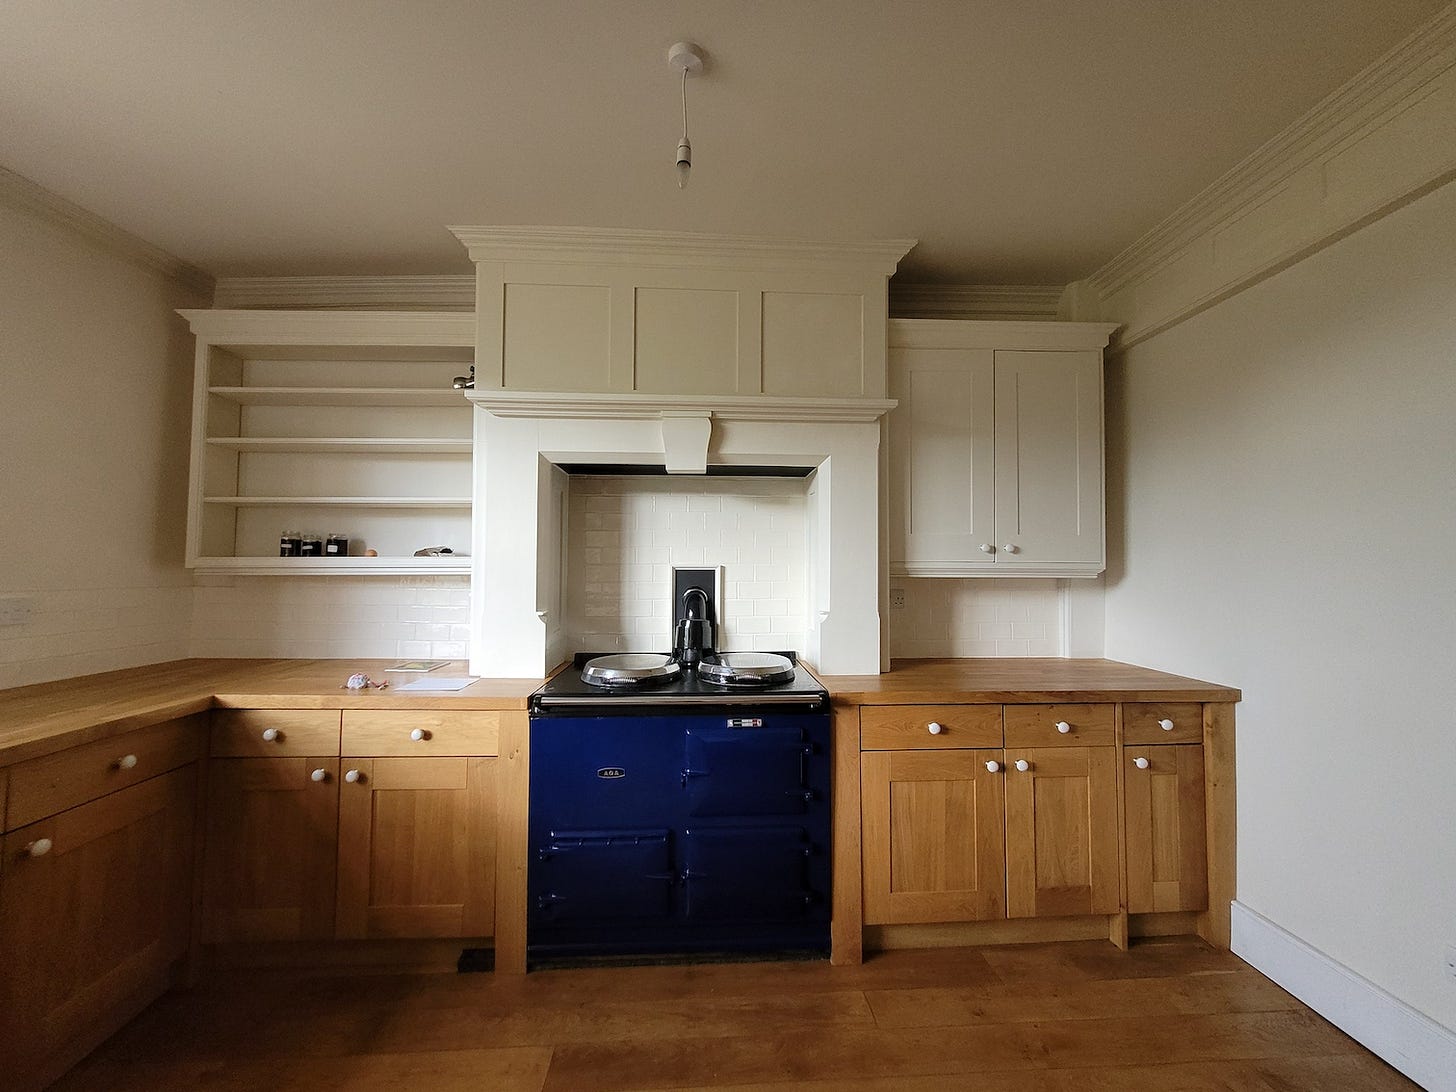
We inherited a fine but soul-less modernised kitchen from the previous owners of the house. For six months we’ve resisted the daily urge to rip it out to see the bones of the old building beneath; we accepted we were better off with a perfectly fine and serviceable kitchen than with yet another mess. Ultimately the plan is to move the kitchen into the medieval hall space with it’s fireplace and bread oven, a space that is currently underused and could one day be an extraordinary and very fitting (though not fitted) kitchen.
Having achieved very pleasing results in the bathroom by adopting a temporary quick fix attitude, and with a few days available between jobs, we decided to tackle the kitchen. The plan was it should be purely cosmetic, no remodelling, just making it feel like our own with minimum fuss and expenditure.
Here are a few of the key details that swiftly transformed the kitchen:
Soot. We always strive to make spaces feel like they’ve been the way they are for a long time so they feel well settled. The tiles, although not our taste, were passable and were going to have to stay put as to remove them would make this a much bigger job. Our solution was to dirty the grout, the whiteness of which was serving to accentuate the cream of the tiles themselves and the modernity of the space. We often turn to soot when looking to dull down tones; it is readily available, natural and textural. In order to bind it to the grout we first gave the grout lines a wash of the lime paint we used on the walls, then we smeared the lines with soot from the previous evening’s fire and scrubbed it back with a stiff bristled scrubbing brush. The warmth of the lime paint colour prevents the soot looking too grey and the inconsistency of colouration makes it look like it’s built over time rather than a single flat grout colour.
Soda crystals. Household cleaning soda crystals (available cheaply in the cleaning aisle of most supermarkets) have made a major impact. We were lucky that the kitchen counters and floor are oak but the standard treatment for oak is to seal it in such a way that the finish is very yellow. A strong mix of soda crystals and water (as per pack guidelines) used to scrub the surfaces began to take off most of the varnish/finish but after a couple of repetitions we sanded the more stubborn areas. After the sanding further scrubbing got through the tougher patches and the natural tannins of the oak began to react with the water to grey up the timbers. Now our modern floors, less than 5 years old, look like they’ve been in place for decades if not centuries.
Limewash. In some rooms we have taken the time to strip back layers of modern paint to find what remains of the lime plaster walls but that takes a great deal of time and effort. One day we may well do so in this room but for the time being we have opted to soften the flatness by applying lime paint to the walls and ceiling. In order to paint over modern emulsion with lime we first applied an undercoat of chalk paint - this gives a mineral base that the lime will adhere to. We used Autentico Venice Paint in ‘Paris White’ which is a warm earthy old white. [Use code ELLE10 at check out for a 10% discount via the link]
Tinted oil. To be honest we’ve not found an ideal way to strip paint from detailed timber, we’ve used chemical strippers in the past with varying but largely disappointing results. This time we used a fine detailing sander and put in quite a bit of time. Once stripped back we added first a bit of Tudor oak wood dye then went over with Osmo Polyx Oil Tints ‘Amber’ and ‘Terra’, the various layers adding depth of colour and tone.
Brown paint. We’re always keen on drab tones; ones that look like they may have grown dirty with time. This colour was a match to a matt black brown found on an aged timber but it’s very similar to Little Greene ‘Chocolate Colour’ that I’ve used in client projects previously.


